The Files Module
- Uploading Files
- Working with Uploaded Files
- Renaming Files
- Deleting Files
- Viewing Editing File Metadata
- Using Cloud Files
- Searching Files
- File Layout Tags
The files module is where all of your PyroCMS files are located. When you add an image to a blog post, for instance, the upload box that comes up feeds directly into the files module, and you can upload to one of the folders you've created via the files module.
The files module has built in support for cloud file providers Amazon S3 and Rackspace Cloud Files.
Uploading Files
Once you get into the files module, you'll need to create a folder to start uploading to. These are not really physical folders, but a virtual folders in the database.
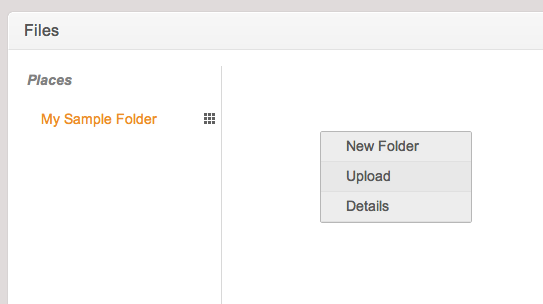
To create a folder, right click in the files module area to bring up a context menu. Choose New Folder, and a new folder will be created.

Once your folder is created, the name area will be blue. This indicates you can start typing in your name to rename the folder.
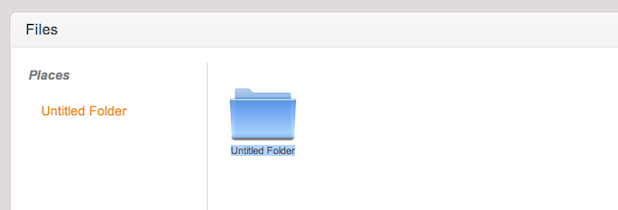
Now we've got a brand new folder! Single click its name on the left, and you'll see the black square appear next to its name, indicating we are in that folder. To upload right click to get the context menu.
An upload modal will pop up that looks like this:
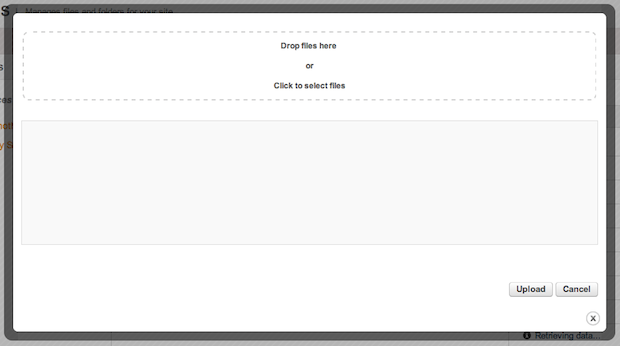
You can either drag multiple files into the dotted area to upload them, or click the dotted upload area to get a browser file select window. Once you've selected your files, they will show up in a list, ready to be uploaded:
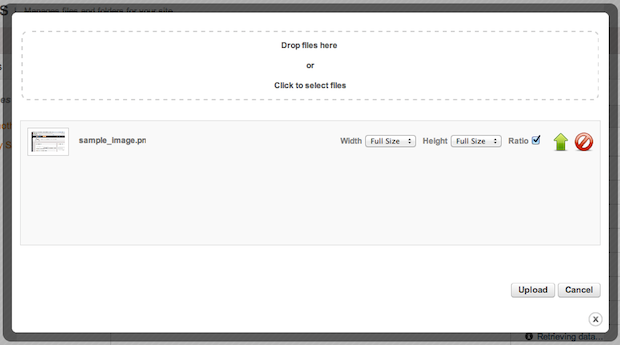
You can select a height and/or width to resize the image to (if your upload is an image), and if your resized image should stay the same ratio. You can upload individual files by clicking the green array button, or remove a file from the upload queue wih the red icon. To upload all of the files in your queue, just select Upload.
Where are my files stored?
All your uploaded files will be stored in your /uploads/[site_ref]/ folder. Any folders created in the files module are virtual, so all files are uploaded to a single directory within a site_ref.
Working with Uploaded Files
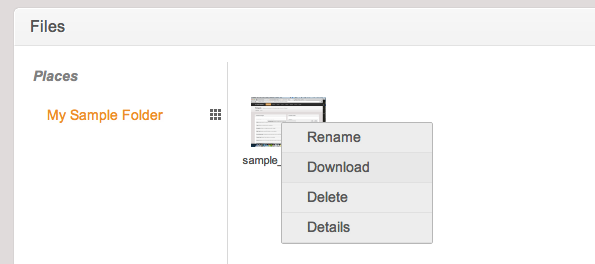
Once you have uploaded files, you can right click them and get a context menu that has a number of options:
Renaming Files
Renaming files works the same way folder renaming does. Select Rename and the file name will turn blue. Just type in your new file name and hit Enter or Return to save the changes.
Note that the name of the file is different than the file name. You are not really editing the actual file name, just the name of the file on the back end. You can rename it to whatever you'd like, and the file name will remain the same.
Deleting Files
To delete a file, choose Delete from the file context menu.
Viewing Editing File Metadata
Aside from the file name, PyroCMS stores several pieces of data about each file, including a description of the file that you can edit. To see the file metadata, choose Details from the file context menu.
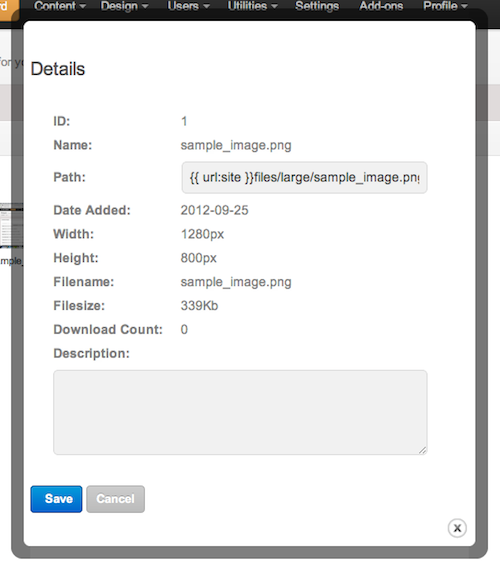
The following metadata is shown for each file:
| Field | Notes |
|---|---|
| ID | The ID of the file in the database. |
| Name | Name of the file. This is editable by you in the files module and is not the same as the file name. |
| Path | The path (including the site url lex variable) to your image. |
| Date Added | The date the file was originally uploaded to the database. |
| Width | The width of the image (if it is an image). |
| Height | The height of the image (if it is an image). |
| Filename | The actual file name of the file. |
| Filesize | The size of the file. |
| Download Count | The number of times an image has been downloaded. |
| Description | The description that you give the file. Click Save to save the description when you modify it. |
If you want to use these variables in your layouts, you can use the files plugin to access them.
Using Cloud Files
Cloud files are files that are not stored on the local server filesystem, but are instead stored and accessed on a separte service. The files modules currently supports the following cloud file systems:
Follow the links above to sign up for an account to start using cloud files with PyroCMS. When you create an account on either, you are given access credentials. Go to the Settings area of PyroCMS and click on the Files tab. You'll see a setting to enable/disable each service:

You'll need to enter the following information for each service:
Amazon S3
- Amazon S3 Access Key
- Amazon S3 Secret Key
- Amazon S3 URL (only necessary if using one of Amazon's EU locations or a custom domain.)
- Amazon S3 Geographic Location (USA or Europe)
Rackspace Cloud Files
- Rackspace Cloud Files Username
- Rackspace Cloud Files API Key
How Cloud Files Work
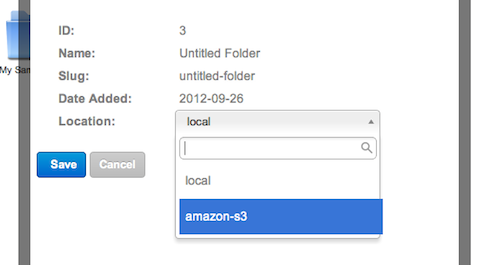
When you create a folder, you can change it to a "Cloud Folder", meaning anything in that folder will be saved into the cloud, whether it is uploaded via the WYSIWYG interface or the files module.
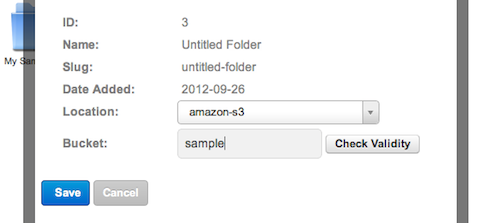
If cloud providers are enabled you will be able to set the location of the folder by right clicking on the folder and then selecting Details. You can then select a location (for example "Amazon S3") and put in the name of your remote bucket or container. If the bucket or container does not exist it will be created when you click Save. Note that you can only change the location of an empty folder.
Synchronizing Files
If you are storing files with a cloud provider you may want to use the Synchronize function. This allows you to "refresh" your database of files to keep it up to date with the remote storage location. For example if you have another service that dumps files into a folder on Amazon that you want to display in your weekly blog post you can simply go to your folder that is linked to that bucket and click Synchronize. This will pull down all the available information from Amazon and store it in the database as if the file was uploaded via the Files interface. The files are now available to be inserted into page content, your blog post, or etc. If files have been deleted from the remote bucket since your last Synchronize they will now be removed from the database also.
Searching Files
You may search all of your files and folders by typing a search term in the right column and then hitting Enter. The first 5 folder matches and the first 5 file matches will be returned. When you click on an item its containing folder will be displayed and the items that match your search will be highlighted. Items are searched using the folder name, file name, extension, location, and remote container name.
File Layout Tags
You can access files tags from the files plugin.